How to Make a Scrunchie
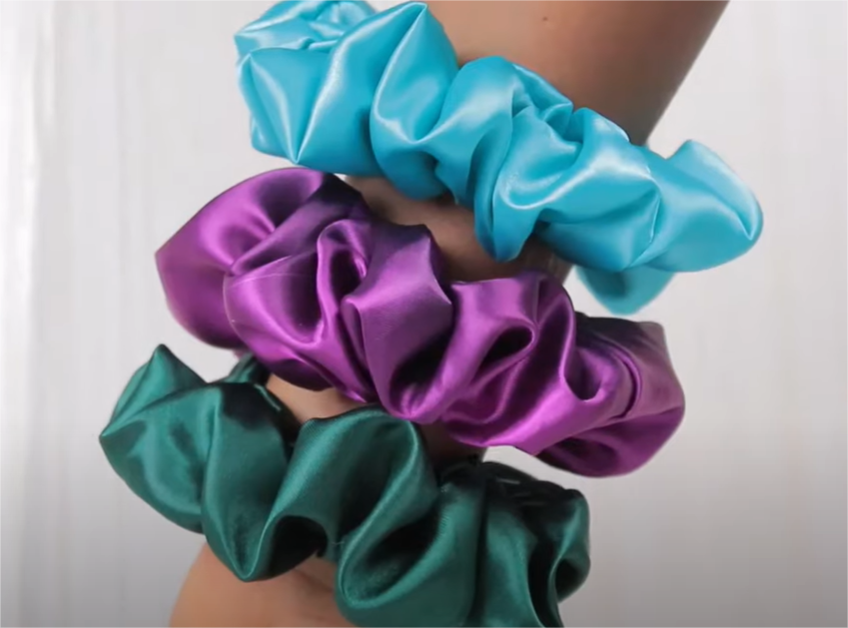
Ready to add a touch of DIY flair to your hair accessories? This step-by-step guide will show you how to make a scrunchie quickly and easily. Follow along with this fun and detailed tutorial to create your own stylish scrunchies using your favorite fabrics. In this tutorial, we’ll walk through the process of making a scrunchie from start to finish. Perfect for beginners, this guide will help you create beautiful scrunchies in no time. By the end of this guide, you’ll have a trendy and functional scrunchie, made with high-quality materials.
Materials Needed
-
Fabrics Used:
- Satin Fabric (16"x5"): Shop Now
- Tools:
- Scissors
- Pen/Marker
- Pins
- Elastic band (7 inches)
- Brother sewing machine
- Serger (Brother ST4031HD Overlocker)
- Sewing table
- Additional Fabrics: Shop Now and Shop Now
Step-by-Step Instructions
-
Step 1: Cutting the Fabric
- Measure and Cut: Cut a rectangle of your desired fabric to 16 inches by 5 inches. For this tutorial, we are using satin fabric for a sleek and shiny look.
-
Step 2: Folding and Pinning
- Fold the Fabric: Fold the fabric lengthwise with the right sides facing each other.
- Pin the Edges: Pin along the edge, leaving a 1-inch gap on each side.
-
Step 3: Stitching the Fabric
- Sew the Edge: Stitch along the pinned edge, making sure to leave the 1-inch gaps at each end.
- Turn the Fabric: Flip the fabric right side out, so the shiny side is now on the outside.
-
Step 4: Inserting the Elastic
- Prepare the Elastic: Cut a 7-inch piece of elastic.
- Insert the Elastic: Attach a safety pin to one end of the elastic and thread it through the fabric tube, ensuring it doesn’t twist.
- Secure the Ends: Pin the ends of the elastic together before stitching them securely.
-
Step 5: Finishing the Scrunchie
- Close the Gap: After stitching the elastic, sew the 1-inch opening closed.
- Final Touches: Ensure all stitches are secure and the fabric is evenly distributed around the elastic.
Additional Tips and Tricks
- Tip 1: Use a safety pin to easily guide the elastic through the fabric tube.
- Tip 2: Experiment with different fabrics and colors to match your style.
- Tip 3: Adjust the fabric length and width to create scrunchies of various sizes.
Conclusion
Making your own scrunchies is a quick and enjoyable DIY project that allows you to customize your hair accessories. We hope you enjoyed this tutorial and are excited to create more scrunchies. Share your creations with us and explore more DIY projects on our blog.
Credits and References
- Content Creator: Special thanks to the original creator of this fantastic tutorial. Please support their work by visiting their Etsy Shop.
- Fabrics and Tools:
- Additional Resources: For more crafting guides and tips, visit our YT Channel: Big Z Fabric


