DIY Small Travel Bag
Join Ava on an adventure as she guides you through crafting your very own vinyl travel bag, complete with a chic see-through side! This tutorial is your ticket to a stylish DIY project that's as practical as it is trendy. Follow this step-by-step guide to unleash your creativity and fashion your own personalized travel essential.
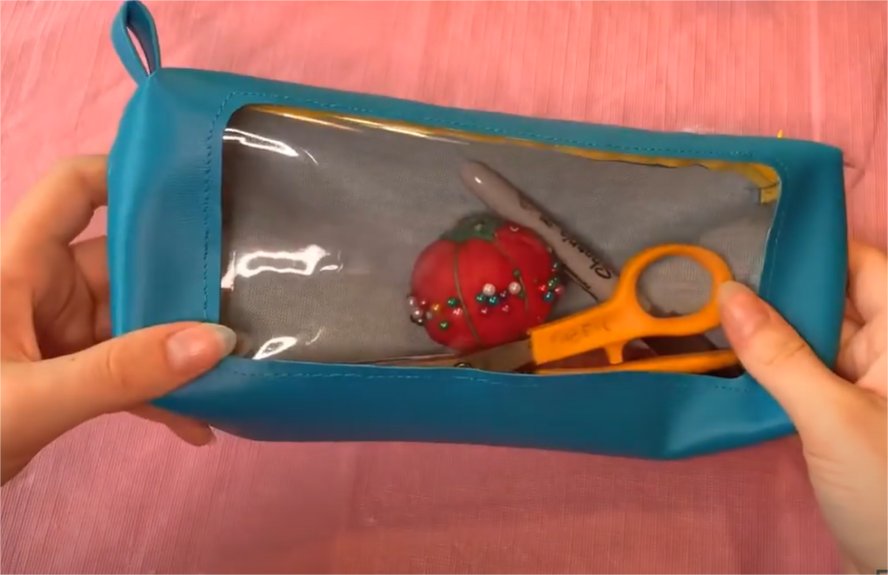
Materials Needed
Fabrics Used:
Tools:
- Pattern
- Scissors
- Pens for markings
- Zipper (at least 11 inches)
- Ruler
- Pins
- Thread
- Bobby pins
Step-by-Step Instructions
Step 1: Preparing the Vinyl
- Lay down the solid vinyl and place the pattern over the top.
- Use a pen to trace around the window inside the pattern.
- Cut around the traced line using fabric scissors.
Step 2: Adding the Clear Vinyl
- Grab the clear vinyl and line it up with the top of the solid vinyl, covering the cut-out window.
- Use bobby pins to pin both layers of vinyl together.
- Set your sewing machine stitch length to three and carefully stitch around the edge of the cut-out window to attach the clear vinyl to the solid vinyl underneath.
Step 3: Attaching the Zipper
- Place the zipper, zip side up, on the table. Align the top edge of the zipper with the top edge of the right side of the vinyl.
- Use bobby pins to pin the zipper in place.
- Stitch close to the zipper, backstitching at the start and end of the seam. You can use a zipper foot for this step.
- Fold the zipper back and away from the vinyl. Pin the seam flat with bobby pins.
- Topstitch the final piece flat to the zipper, backstitching at the start and end of the seam.
Step 4: Assembling the Bag
- Fold the vinyl piece in half with right sides together, aligning the edge of the zipper with the short edge of the vinyl.
- Pin both layers together with bobby pins and sew close to the zipper.
- Unzip the zipper and flip the vinyl to reveal the seam.
- Fold the vinyl back, pin in place, and topstitch.
Step 5: Sewing the Sides
- Pin both sides of the vinyl together, aligning the edges, and sew close to the edge over the zipper, backstitching at the start and end of the seam.
- Repeat the process on the other side, ensuring the zipper is zipped into the middle of the bag.
Step 6: Creating the Hanging Loop
- From the remaining vinyl, cut a strip (1.5 inches by 6 inches).
- Fold the strip in thirds and pin in place.
- Sew along the edges of the strip, flipping it over and sewing down the other side once one side is sewn.
Step 7: Boxing the Corners
- Draw a line 3/4 inch away from the seam on one side of the bag to box the corners.
- Sew along the drawn line to create a flat base for the bag.
Additional Tips and Tricks
- Use a fabric marker to trace the pattern onto the vinyl for more precise cutting.
- Customize your travel bag with different colors and textures of vinyl.
- Reinforce the seams with extra stitching for added durability.
Conclusion Making your own vinyl travel bag is a fun and rewarding project that results in a stylish and practical accessory. We hope you enjoyed this tutorial and are excited to create more DIY projects. Share your creations with us and explore more crafting ideas on our blog.
Credits and References
- Content Creator: Special thanks to Ava for this fantastic tutorial. Please support her work by visiting her LinkTree.
- Materials and Tools:
- Additional Resources: For more crafting guides and tips, visit our YT Channel: Big Z Fabric.


